Here he describes how he veneers a handmade drawer front.
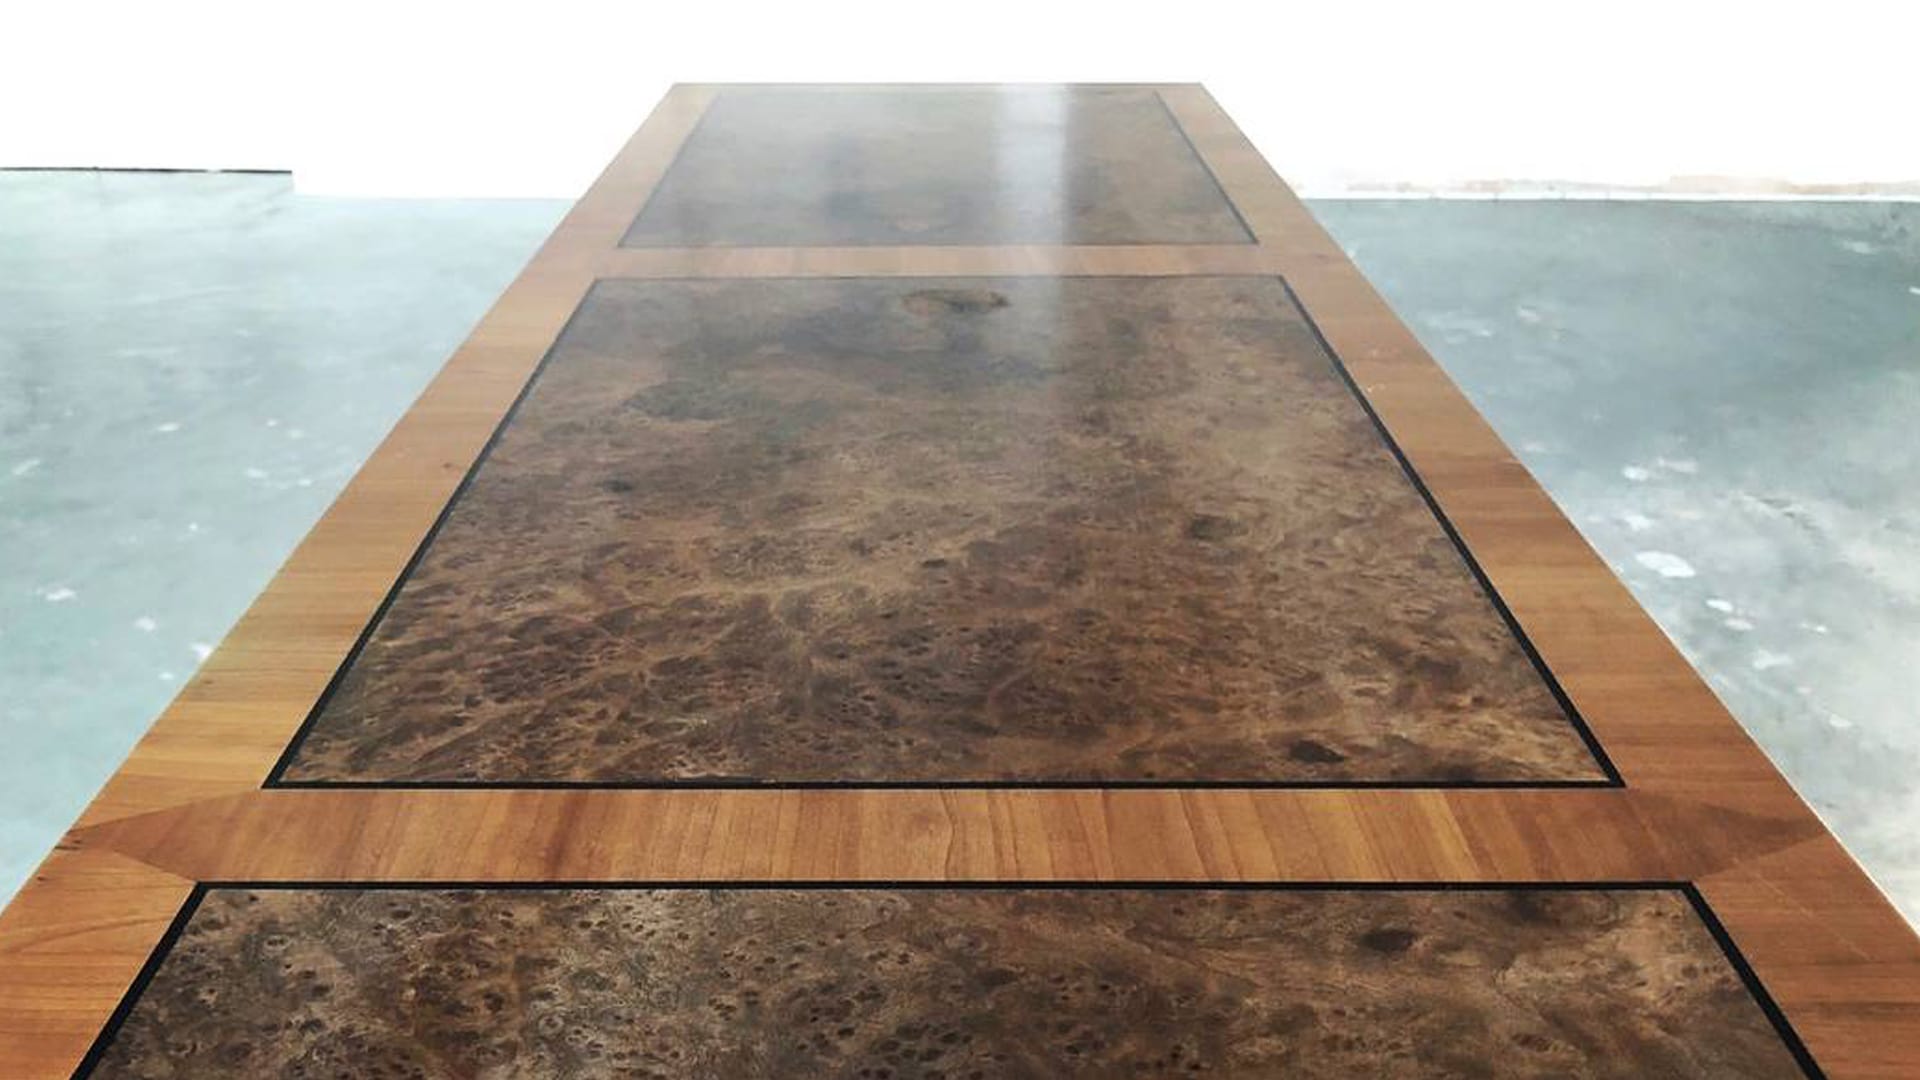
'Hand veneering is a real skill. By using thinly cut veneers of wood, truly beautiful figuring and grain patterns can be laid over an entire piece of furniture or panelling.
The drawer fronts are cut in 18 or 24mm birch ply and edged around with 10mm thick solid walnut or other beautiful timber.
Once the glued lippings are dry they are sanded flush to the drawer front.
I cut in the drawers to suit the opening sizes, leaving a 2mm gap all around.
I then select the veneer to be used for the front and rear(balancer) of the drawer front, making sure the grain continues throughout the piece, or mirrored for a book matched effect. This is where the cabinet maker’s experience and trained eye come into play. Correct selection of the grain pattern will make or break a piece’s beauty.
I carefully cut the veneer with a sharp blade leaving a couple of mm excess all round.
PVA glue is evenly applied to the ply, and the veneer positioned in place, using masking tape to hold in position. I then put it into the veneer press which applies huge pressure while the glue dries.
Once dry, I carefully trim off the excess veneer and finish with 240 grit (fine) sandpaper ready for varnishing.'
Read the next post in the series to find out more about our installation process